
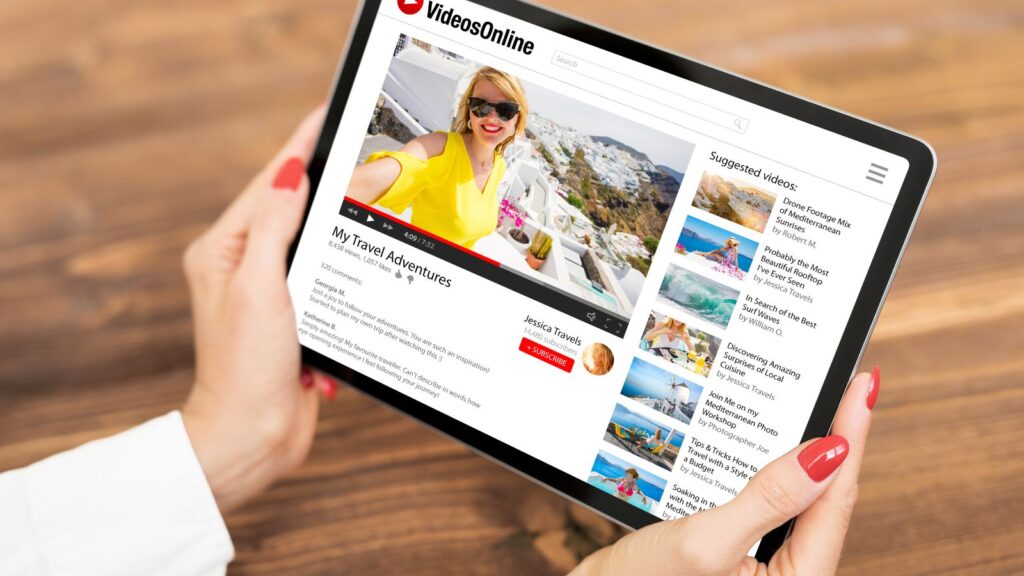
A YouTube channel banner is the first thing visitors see when they land on your channel. It acts as a digital storefront, giving viewers an instant impression of your brand, content, and personality. A well-designed banner can attract more subscribers, increase brand recognition, and set you apart from the competition.
But simply having a banner isn’t enough—it needs to be optimized for different devices, visually appealing, and aligned with your brand identity. In this guide, we’ll walk you through the importance of a high-quality banner, key design tips, and the best tools to help you create one effortlessly.
Why a YouTube Banner Matters for Your Channel?
Your banner plays a crucial role in defining your channel’s identity and influencing user engagement. Here’s why it matters:
- First Impressions Count – A professionally designed banner makes your channel look polished and credible.
- Branding and Recognition – Consistent visuals across all platforms help establish a recognizable brand.
- Encourages Subscriptions – A clear and engaging banner can encourage visitors to subscribe.
- Communicates Your Content Theme – Your banner should reflect the type of content you create, whether it’s tech reviews, fitness tutorials, or travel vlogs.
- Optimized for Multiple Devices – A properly resized banner ensures it looks great on desktops, tablets, and smartphones without getting cropped or distorted.
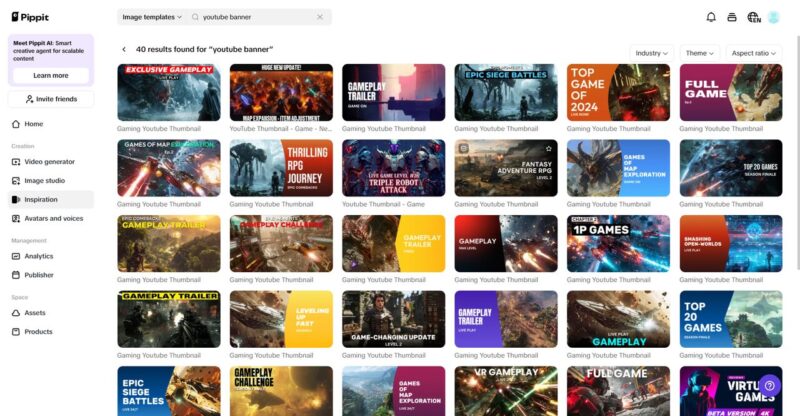
Design a Professional Banner with Pippit
Creating an eye-catching YouTube banner doesn’t require a graphic design background. Pippit provides powerful tools and templates that make the process simple and effective.
Why Use Pippit?
- Pre-Made Banner Templates – Save time with professionally designed templates that are fully customizable.
- AI-Enhanced Editing – Remove backgrounds, add text, and enhance colors effortlessly.
- Custom Branding Options – Easily add your logo, social media handles, and call-to-action buttons.
- Seamless Integration – Export and upload directly to YouTube without worrying about format compatibility.
How to Resize and Optimize Your YouTube Banner?
One of the biggest mistakes creators make is not resizing their banner correctly. YouTube has strict banner dimensions, and if your image doesn’t meet them, parts of your banner may be cropped out or distorted.
YouTube Banner Size Requirements
To ensure your banner displays correctly across all devices, follow these YouTube guidelines:
- Recommended size: 2560 x 1440 pixels
- Safe area: 1546 x 423 pixels (this is the area always visible on all devices)
- Maximum file size: 6MB
- Accepted formats: JPG, PNG, GIF, BMP
If your banner isn’t properly sized, crucial elements like text and logos may get cut off on mobile screens. That’s why it’s essential to use a YouTube banner resizer to get the perfect dimensions.
Resize Your Banner Easily with a YouTube Banner Resizer
Manually adjusting banner dimensions in Photoshop or other editing software can be time-consuming. A YouTube banner resizer simplifies the process by automatically adjusting your image to the correct size without losing quality.
Benefits of Using a YouTube Banner Resizer
- Ensures Correct Dimensions – Prevents cropping and distortion.
- Enhances Image Quality – Keeps your banner sharp and clear.
- Quick and Easy Adjustments – Resize in seconds instead of spending hours editing manually.
- Optimized for Mobile and Desktop – Ensures your banner looks great on all devices.
A great tool for this is the YouTube banner resizer from Pippit. This tool allows you to resize, optimize, and enhance your banner with just a few clicks.
Essential Design Tips for an Eye-Catching YouTube Banner
Beyond resizing, you need to ensure your banner is visually compelling. Here are some best practices to follow:
1. Keep It Simple and Clear
Avoid clutter. Your banner should communicate your channel’s theme in a clear and visually appealing way.
2. Use High-Quality Images
A blurry or pixelated banner looks unprofessional. Always use high-resolution images to maintain clarity.
3. Make Sure Important Elements Are in the Safe Zone
Since YouTube automatically crops banners on certain devices, ensure all crucial elements (text, logo, and images) are within the 1546 x 423-pixel safe area.
4. Use Readable Fonts and Contrasting Colors
Choose a bold, readable font that stands out against your background. Avoid using colors that blend too much and make text hard to read.
5. Add Social Media Links and Calls to Action
Encourage engagement by adding social media icons, website links, or a simple “Subscribe Now” call to action.
6. Stick to Your Branding
Consistency is key. Use colors, fonts, and design elements that align with your **overall brand identity**.
7. Test on Different Devices
Before finalizing your banner, preview how it looks on desktop, mobile, and TV screens to ensure everything appears correctly.
How to Upload and Update Your YouTube Banner?
Once you’ve created and resized your banner, follow these steps to upload it to YouTube:
- Log into Your YouTube Account
- Go to Your Channel and click “Customize Channel”
- Click on “Branding” in the left-hand menu
- Upload Your Banner and adjust the cropping if necessary
- Click “Publish” to save your changes
Final Thoughts
A well-designed, properly resized YouTube banner enhances your channel’s appeal, boosts engagement, and helps build a strong brand presence. Using tools like Pippit and a YouTube banner resizer, you can effortlessly create high-quality, visually appealing banners that stand out.


